In a previous posting I showed a fly pattern that uses knotted pheasant tail legs, and I promised a posting to help readers tie these.
Tying knots in short pieces of feather fibre is difficult, so don’t beat yourself up if you end up with bits of knotless feather on the floor, and a foul temper. That would be entirely normal, and part of the process. In fact, if I haven’t tied these in a while, I forget all my own learning and do the same for a good 20 minutes before the synapses fire, and I remember this method:
Choose your fibres.

2 fibres normally does it (if you were tying a single fibre, it is easier to do, and you could dispense with the hackle pliers as shown in the steps below. Hans Weilenmann does an excellent You Tube video on single fibre legs):
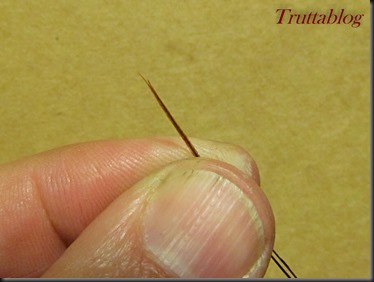
Now make a simple loop in the fibres. Just a loop. Don’t try to tie a knot yet:
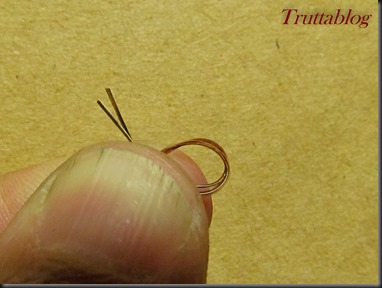
Now use a small pair of hackle pliers. Insert them through the loop you have made, and once through, open the jaws to grab the thick ends of the fibres:
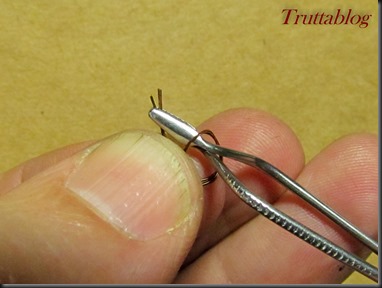
Now pull these gently back through. I usually twist/swivel the end of the pliers downwards and through the loop towards me:

Now, don’t pull the knot tight at all. Just pinch the whole loose knot and end of the hackle pliers between thumb and forefinger of one hand, to keep it all together. This frees the other hand to reach for a second pair of hackle pliers.
The second pair of pliers are fastened to the fine ends of fibre, just peeking out from your pinch.
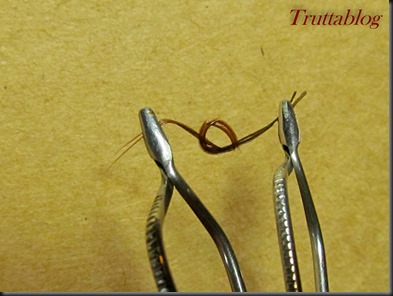
The most important thing here is to position the second pliers (the left hand ones in the picture above), just below where you want the knot to be. So on a big fly, they will be positioned quite far up. On a small fly, they will be right down close to the tips.
(If you are tying a large daddy-long-legs, for example, and the position of the knee is less important, again you can do these by hand, and in fact there is an excellent you tube video by Erlends Stankelbein demonstrating these legs too. )
Now, being careful not to pull the two opposite ends apart (which would tighten the knot prematurely), take both pliers in one hand, with the fine ends (second pair of pliers) below the other end.
Using gravity, a little shaking or stroking, ease the loose knot down.
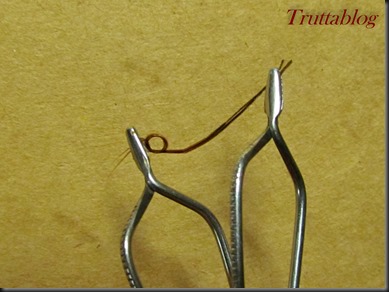
When the open knot arrives at the lower pliers:
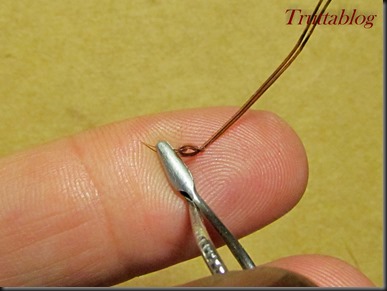
you can pull tight.
(gently does it)
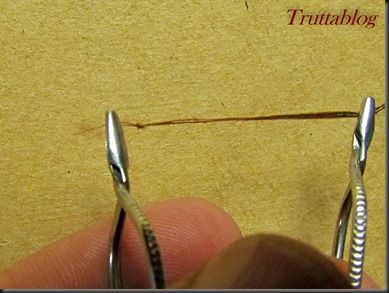
now make a few more
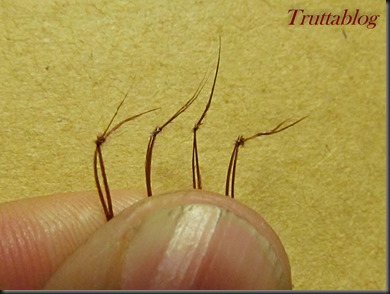
Then smear a little UV glue on your finger, and pull the fibres through it, to mop it all up
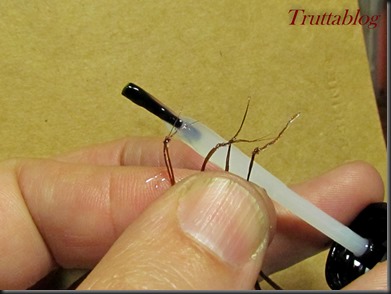
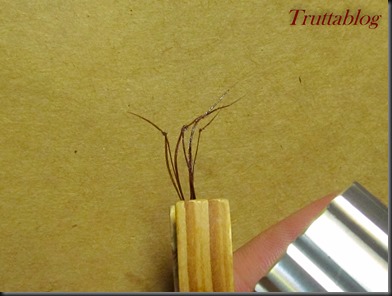
Then place is a clothes peg, taking care to ensure they are not touching one another, and expose them to the UV torch, to cure the glue:
Pheasant tail fibre is notoriously frail. Have you ever noticed how the tails of your pheasant tail nymphs break off?
This is why I use UV glue. I use it a little reluctantly, because one sacrifices movement, and in fact sometimes I don’t use it at all for that reason.
Either way, I hope the knot tying tips help you make some legs for your flies.
10 Responses
Got it Andrew thanks, I’d given up fumbling with these!
thanks Andrew, I never managed to grasp this trick before but now you’ve made as clear as a gin clear stream. I do remember seeing a tool advertised in an UK catalogue for a pheasant tail knotting tool. Often wondered if it would be worth getting one.
That tool sounds interesting Roy…must have a look.
Horrors…not really. What I once couldn’t do you made easy enough. Thanks!
a pleasure: glad to be of help.
Using a crochet hook instead of the hackle pliers allows easier access and requires a smaller loop than the pliers, particularly useful if the feather fibres aren’t that long. I used to use the pliers, now I use the hook. That is when I am feeling pedantic enough to knot the legs in the first place.
Regards..
Tim, I must try that. I was in a fishing shop last week and with time to spare wandered round. Spotted two interesting “tools” in the carp section. They are made by Loomis and Franklin and are labeled “Carp bollie stik needles”. They looked good for use in attaching strike indicatort as per the new NZ system so I picked up one of each to try. Reading your comment made me realise there may be more than one use for them. Another tool may be one I recall seeing in a UK mag as a leg knotting tool. I’ll see if I can find it.
Thanks Roy, there is as they say “more than one way to skin an cat”..
Good idea. Thanks Tim.
Excellent technique – thanks Andrew and also to Tim!