A recent topic of discussion has been that of eyes on our Trout flies.
It occurred to me that we have come a long way in that department. My earliest memory of eyes on flies was that of the Clayne Baker swimming nymph, in which one was required to tie an overhand knot on a bunch of marabou fibres. Now that was a trick!
I think at that time we normally made eyes by simply cutting a stub of tuff chenille either side of the hook. Those were not very pronounced eyes, and come to think of it, the snipped end of a length of tuff chenille was positively insipid compared to the lovely round shiny eyes we are able to get today.
Round about the time of Hugh Huntley’s red eyed damsel, we had started to loop the tuff chenille. That method persisted for a good long time, and it still shows up now and then.
It would have been around then too, that we started melting thick nylon, to make eyes. You had to get the right nylon, and the right method to control what you ended up with, and I seem to remember that my own results were far from predictable. One difficulty that I still see on the online videos, is that it is darn difficult to get the eyes the same size.
In more recent years though, a whole plethora of ideas have emerged. Some are better than others.
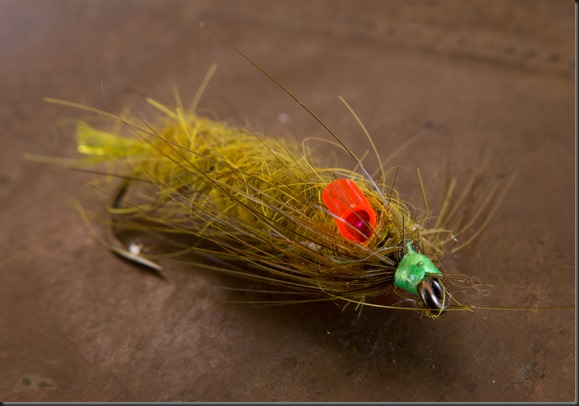
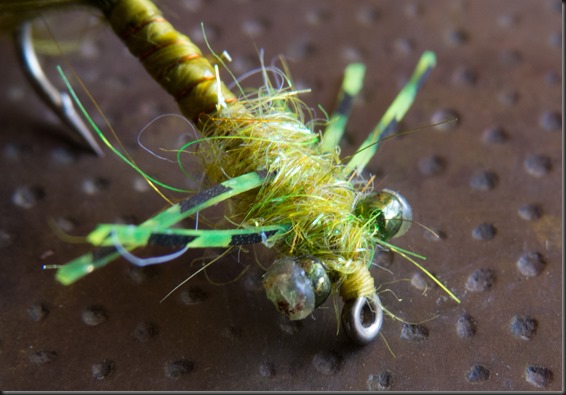
Roger Baert uses a plastic sheet, from which he cuts strips, and folds them over to make eyes. The stuff positively glows along the cut edge, making Roger’s dragonfly pattern a killer pattern:
Fly Tied by Roger Baert
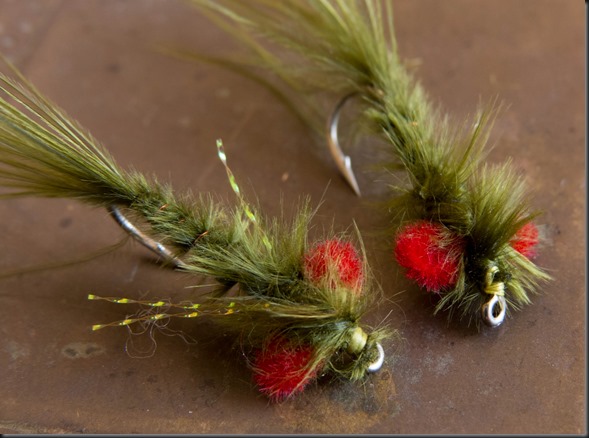
Not long ago I bought these soft “Chew balls”.
They look wonderful don’t they!
They fall off on about the third cast.
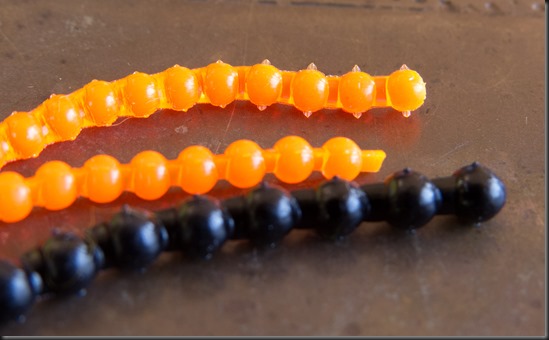
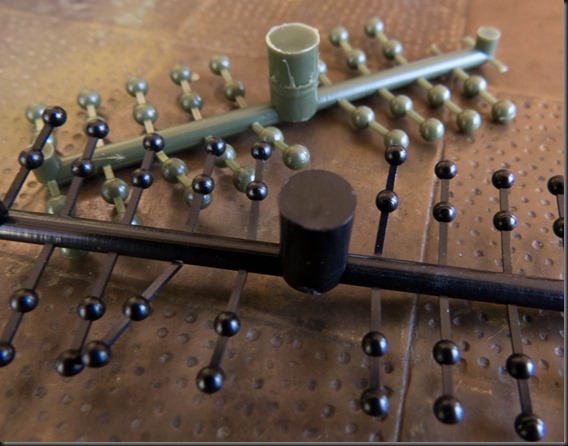
Back to the drawing board. These moulded plastic eyes are great.
The black ones are somehow shiny, but the olive and grey ones just look dull on a fly. You also have to shop carefully. These ones lose their colour and end up white on the fly:
That is, unless you coat them in thin UV glue, so locking the colour in, and giving them some shin too.
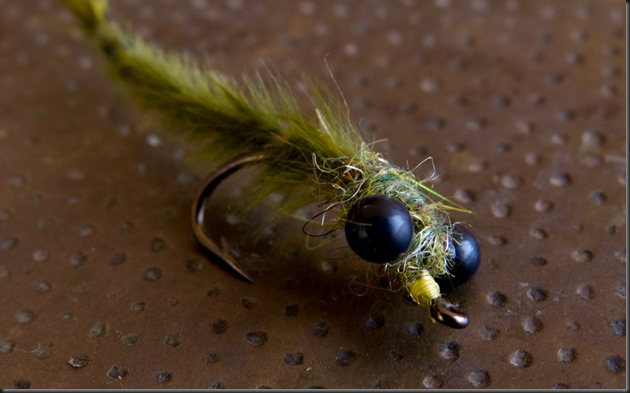
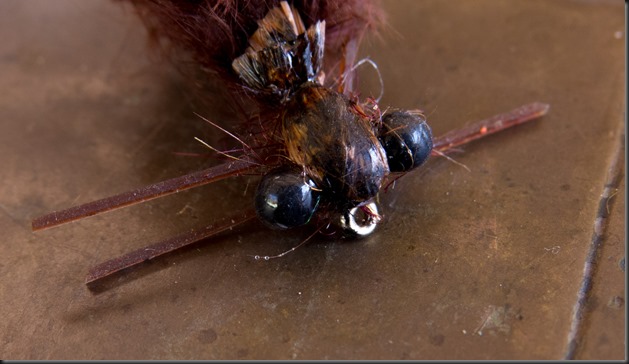
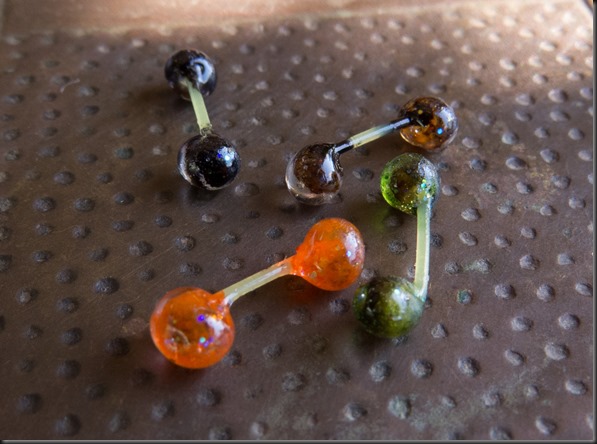
But the real trick nowadays is to go and scan the bead shops for all kinds of interesting beads and make your “dumbbells” yourself.
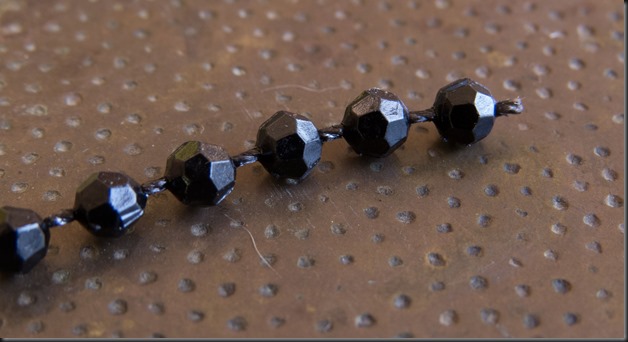
Jan recently showed us the faceted beads he has been using.
These ones came on a string, but most of them don’t. So here is how to make them up yourself.
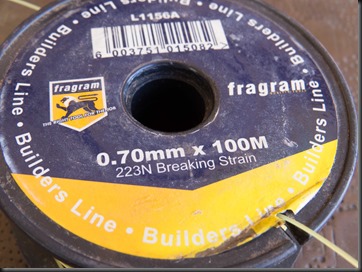
First, lay you hands on the heaviest nylon that you can thread the beads onto. Builders line is a good option:
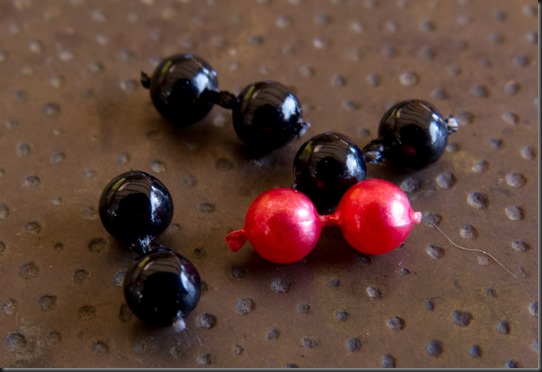
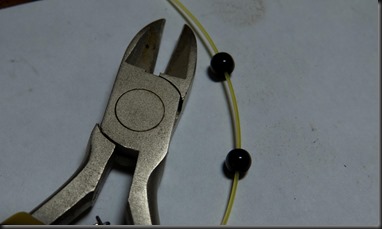
Thread two beads onto a short piece.
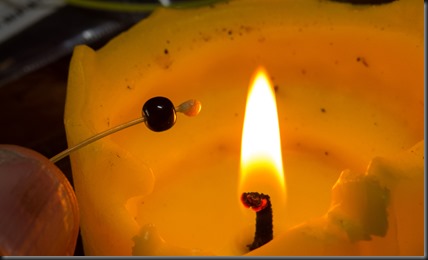
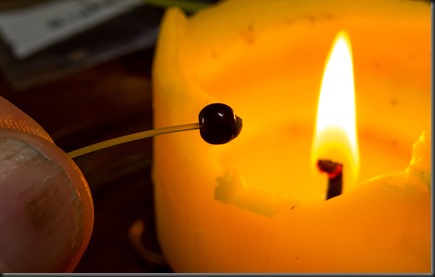
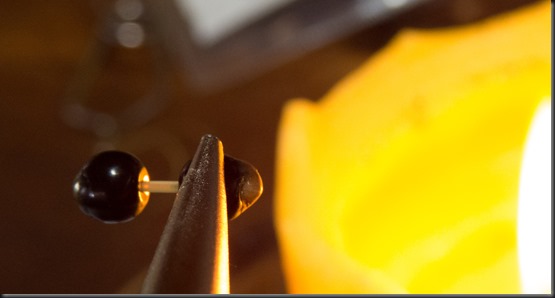
Now light a candle, and position the first bead about an inch from the end of the nylon. Hold the nylon near the tip of the flame, and wait for it to start sizzling. Keep it there until it practically catches fire. It will burn back into the bead and stop. The bead is like the firebreak!
To do the other end, move the free bead to a position about a quarter of an inch from its stuck partner, and then snip the nylon about an inch away from that. Now slide the free bead back against it’s stuck pa
rtner. Holding the unit by the locked bead, and with a pair of sharp nosed plies holding the free bead, advance the end of the nylon into the flame until it catches fire. Let it burn to the point that you want it to stop. Then swiftly but gently use the pliers to move the bead to that point. As the bead reaches the rapidly advancing bead of sizzling nylon, it will put the fire out and embed itself in the desired position. The sizzling nylon is however as soft as butter, so you have to avoid sliding the bead right past the desired point and off the end. It is a knack!
Another way to do it is shown in this clip from Global Fly-fisher.
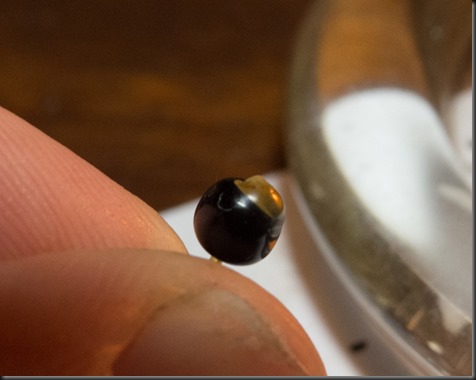
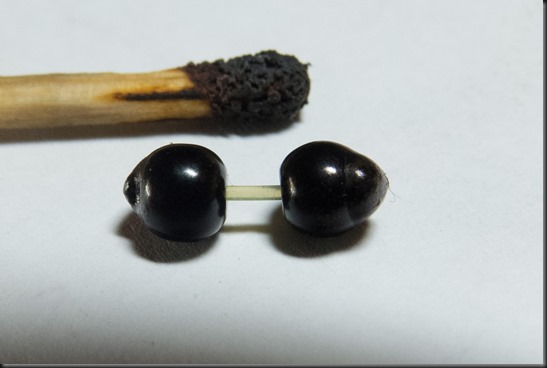
Now the only issue with this method, is that your bead is fouled with a “gob” of dull melted nylon. A lot of the pictures and videos on the internet don’t get you in close enough to see this for what it is. It is not as shiny as the bead, and it is often not symmetrical either.
On a black bead, you can solve this with a black permanent marker.
I normally coat my bead eyes with loon thin UV glue. This helps secure the bead. It also fixes the black marker. You can also do this with Sally Hansens “Hard as nails” or epoxy, as shown on this video that I came across.
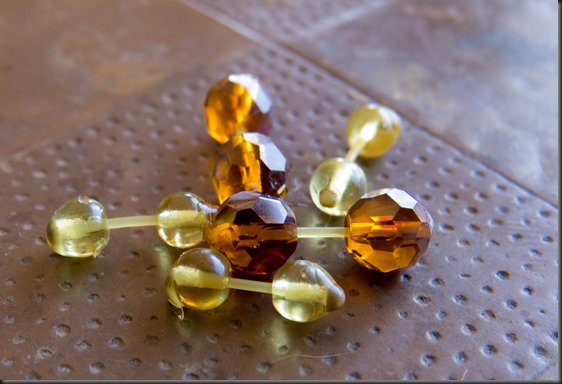
The problem is that not all beads are black. One can find a wonderful assortment of translucent beads in plastic and in glass. These look quite fantastic, but that melted nylon is somewhat of a blemish.
I have tried different melting techniques, to give a smaller blemish, and then secured the bead onto the line with UV glue to compensate for the smaller stopper. But I don’t feel as though I have got it right yet.
But if we step away from the beads for a while, and dwell on the idea of creating our own translucent bead using UV glue, we might be onto something.
Take a look at this video.
In that clip he says how the top layer of UV glue is so thin that you can’t even tell its there. But I got to thinking: what if you do want to know it is there! What if you want your colour in the middle of your “bead”, and successive layers give you the translucent layers over the colour. And what if you introduced some sparkle into those successive layers. I know that you get glitter type material that you can infuse into your epoxy or UV glue.
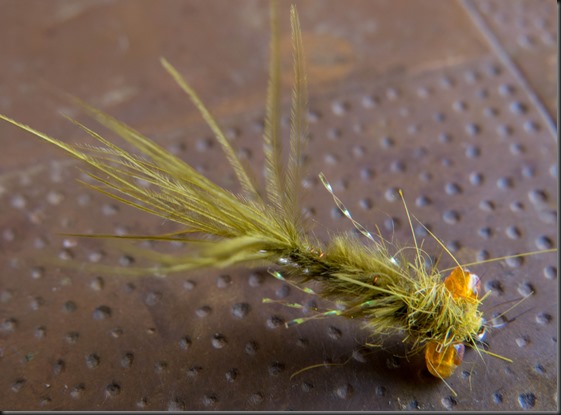
So what I did was to start with the old melted nylon eyes described above. Then I used this base of a small nylon ball as a base onto which I dropped a small amount of very thick UV glue . I twirled it while wet and then cured it with the light, when I was sure that it was smooth, and even more symmetrical than the original ball of melted nylon underneath. Then I couloured it with a permanent marker. In fact I did some with a white board marker: it doesn’t have to be permanent.
At that point, check to see if the bead is slightly tacky. If not, you may want to give it a very fine brush of nail varnish or thin UV glue. Then before it is cured, roll it in some glitter of your choosing and then cure it. Now roll on some more thick UV glue, roll the dumbbell around to get it smooth and even and then cure it with your UV torch.
You can play with colours and glitters, and multiple clear or coloured layers.
What do you think?
3 Responses
Hi Andrew,
Good article.
I quickly realised that my strand of Tuff chenille was not that effective when developing the method described for tying eyes and heads for Dragons and Damsels so the next step was creating half hitches at the tips of the Tuff chenille to create a bigger eye. However these tended to unravel when not glued so then developed the looped eyes of Tuff chenille. This all took place in the late 70’s and early eighties and I still use the looped Tuff chenille as it provides a neutral balance to the fly whereas heavier materials make the Dragons and Damelsfly nymphs’ heads swim up and down on the retrieve which is not their natural action when moving around. Just my couple of cents worth on the matter.
I even use this method for steamers and saltwater flies as it is pretty indestructable. There is a micro Tuff chenille which one can use for Mayfly and other nymphs.
Regards
Robin
Thank you Robin. I had forgotten about tying knots in the tuff chenille. That brought back some memories. We are indeed after the natural weight, and you will notice that I excluded the heavy bath chain eyes and the like. I also cant get my head around the teddy bear type eyes, and don’t suppose I tie anything big enough to consider those. (Thank goodness!).
I have some of that micro chenille and hadn’t even thought of using it in this way.
This post has certainly created some thoughtful discussion (on facebook and elsewhere) and the creative interaction has been enlightening and enjoyable.
I am guessing that is a nasty bluegill fly down in the south as well. Looks super fishy.